 |
| One for me, another one for mom... |
 |
| ...and one for the lil' fella too... |
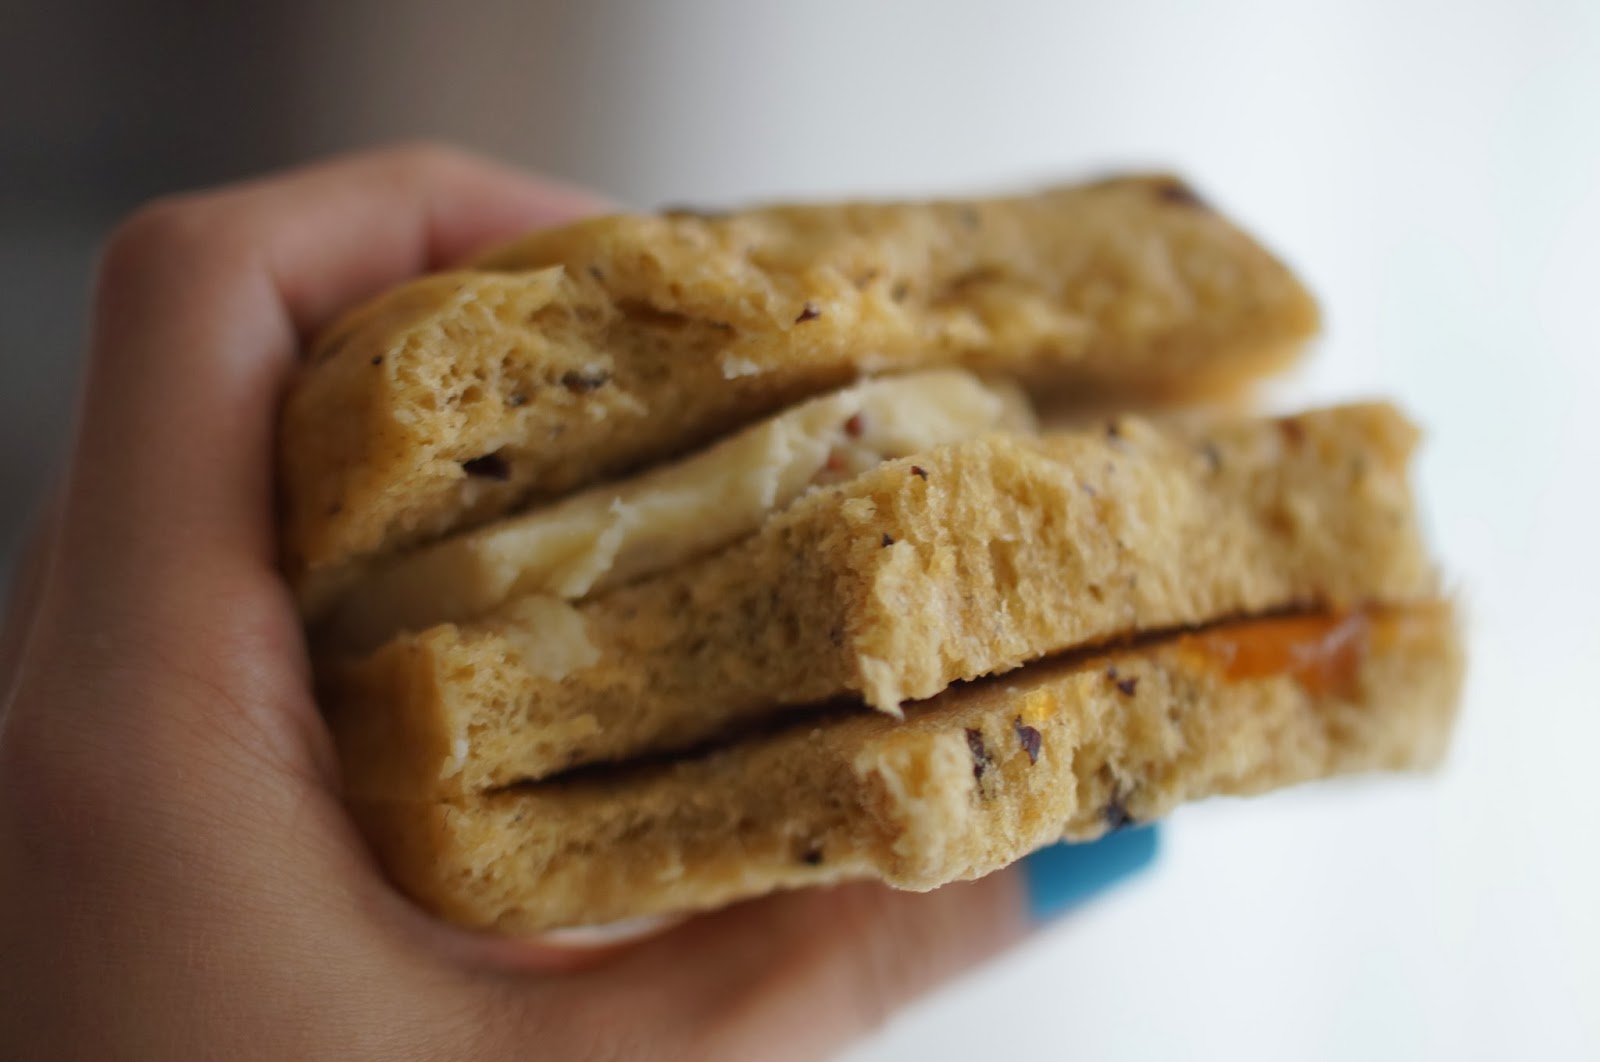 |
| I had mine with cheddar cheese and organic apricot jam, yum! |
 |
| The steamed bun/bread remained soft even after a day in an air-tight container. |
This bun is not just delicious, but super-filling! Had a big one and I still feel FULL now even though it was about 3 hours since I had it. The texture was good, definitely soft and fluffy, and this recipe is a variation from my previous raisin bun recipe. This is better, cos I ran out of A.P.flour and I added 30g superfine flour (or cake flour) to it to make up the amount, and yay! it turned out great. I also replaced the 180g of milk or cream with 100g of cream with 80g carrot juice, giving it a tinge of sweetness, which helped to mask the taste of yeast.
Here's the recipe, definitely a keeper recipe for steamed bun/bread
Recipe for starter dough:
- 120g all purpose flour or superfine flour
- 80g warm water
- 1/2 tsp active instant yeast
- pinch of salt (I forgot to add this into mine, it was ok)
- Mix all ingredients and knead till I get a non-sticky dough (I used a breadmachine to knead and it took about 8min).
- Leave in a bowl to proof for about 3 hours or until the dough double its size.
- This starter dough can be divided into two portion. One portion for this recipe, the other portion can be kept frozen and used in future.
Recipe for the carrot milk raisin bun:
- 250g all purpose flour
- 30g superfine flour
- 20g oat flour
- 100g heavy cream (or milk)*, warmed in a microwave for less than 1min
- 80ml carrot juice (freshly squeezed or commercial bottled ones)
- pinch of salt
- 1tbsp brown sugar
- 1tsp active instant yeast
- 100g of the starter dough (from above)
- 3 tbsp. of raisin / blackcurrant (soaked in water for about 10min before use)
*You can use milk to replace heavy cream
- Mix all ingredients and knead till I get a smooth, non-sticky dough (kneaded with breadmachine and it took about 13min.
- For the raisin/ or blackcurrant, you may add it from the beginning or later on during the second proofing. I add it from beginning, cos I wanted the raisin to slightly tear (break-apart) to give that visual / color to my steamed bun. But if you want a clean looking bun with whole raisins, then you should add it later on. (I love the way the raisins break apart and give the bun the dotted look)
- Leave to proof in an oiled bowl till it double its size (about 1 hour). Cover the bowl with a damp cloth when proofing.
- On a floured surface, punch the risen dough to knock out all the trapped gas.
- Roll to a flat sheet, and roll up like you're doing a swiss roll. You may add the raisin in at this step, if you haven't added them in earlier.
- Divide into 5 equal size portion.
- Leave to proof for another 30-45min.
- Steam for about 25min. Wrap the lid with a tea towel to prevent the condensate from dropping back onto the bun, which will uglify the outlook. Do not open the lid right away. Let cool in the steamer for about 5min, so that the skin of the pau wont turn wrinkly.
***I prepared all steps until step 6 at night (9:30PM), then I wrap each individual ones in cling film and leave them in the fridge so that I can have them for breakfast tomorrow. They continued to proof and rise even when in the fridge. The next morning (6AM), take them out from the fridge, place them onto non-stick parchment paper and leave to proof in a warm-ish area. I left them beside by slow cooker cooking the lil' fella's porridge) for about 20min.
This is a recipe that's suitable for toddler (aged one year and above).
love this extremely healthy bun!
ReplyDeleteHahaaa.. I'm not too sure it's really considered 'healthy' or not, cos it has a very sinful ingredient in it, ie cream. But that's the secret ingredient that makes it soft and buttery.
Delete